How to Add Email Subscription for WordPress Site
If you want to start email marketing for your WordPress site, first you need to build an email subscribers list. The benefit of having a list of subscribers is that you can send them your weekly update. Furthermore, you can also plan any special email campaign for them. Regardless to say, it will help you to get more traffic to your site.
However, for building subscribers lists, you should make it easy for your traffic to subscribe to your site. And to do that you must enable an email subscription feature to your WordPress site.
It’s easy as a pie to add an email subscription feature to a WordPress site. You just need to choose the right email marketing plugin for your site to get your job done. Today in this tutorial, we’re going to show you how effortlessly you can enable email subscriptions with an email marketing plugin. So, keep reading!
Quick Navigation
Why Email Subscription is Important for Your WordPress Site
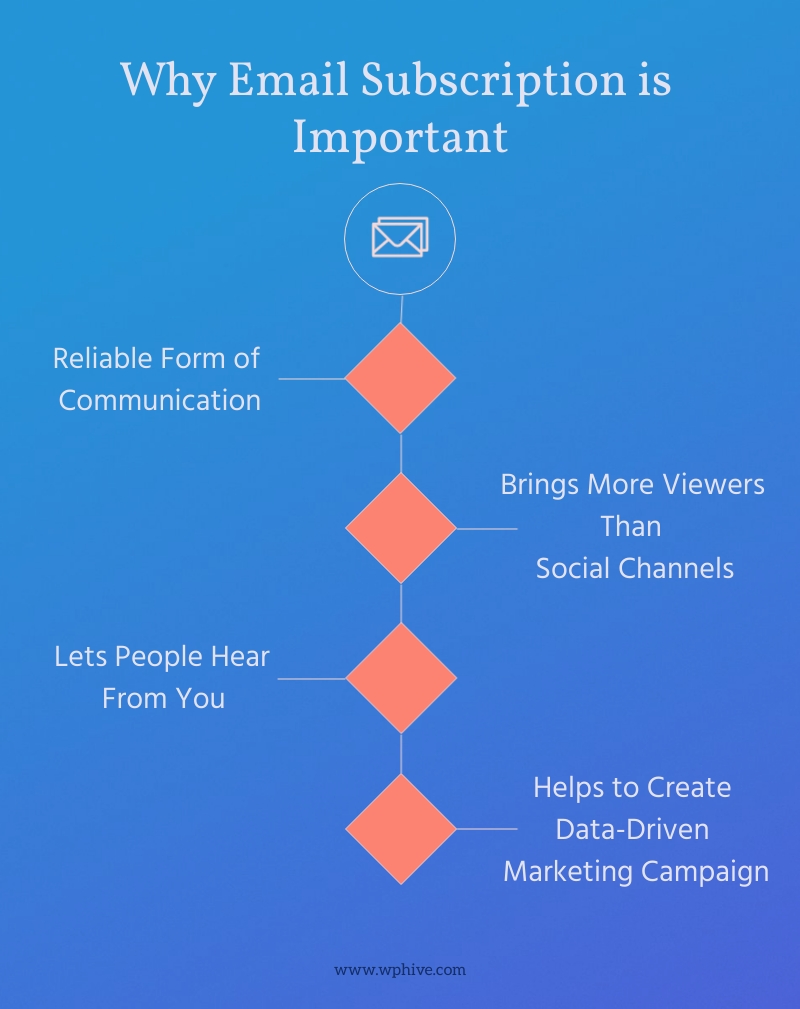
Till to date, email marketing is the cheapest marketing strategy to outreach our readers or potential customers. It has the highest ROI among all the marketing strategies. Apart from these, there are a few important points why it is so important:
- Reliable Form of Communication: Email helps you to deliver your content directly to your subscribers inbox and receive their feedback directly to your inbox. As it works like private messaging so people gets motivation to continue chatting.
- Brings More Viewers Than Social Channels: On an average email marketing has 15-16% open-rate that means if you have 10K members of subscriber list, you’re supposed to get nearly 100 traffic to your site. There are more than 3.8 billion active email accounts, which means there will be more traffic if you can grow your subscribers list properly.
- Lets People Hear from You: People opted in to your email subscription that means they want to get the update from you. With email, you can deliver your customer highly relevant offers to get better results.
- Helps to Create More Data-Driven Marketing Campaign: After sending a few email newsletters, you’ll get the result which types of content people are opening most, click rate, click through rate, bounce rate, and many more data like these. That will help you to create more data-driven campaign.
One interesting fact is that you barely find any WordPress blog that doesn’t offer email subscriptions to their readers or visitors. Email subscription is still appealing which is why people around the world are using it on their sites.
Email Subscription for WordPress Site- Step by Step Tutorial

Now we’ll start the main tutorial part of this blog. Follow these below-mentioned 4 easy steps to add an email subscription to your WordPress site.
- Choose a WordPress Email Marketing Plugin
- Create Your Email Subscription List
- Create and Design Your Form
- Add Form on Your WordPress Site
Now let’s explore each of the points in detail.
1- Choose a WordPress Email Marketing Plugin
You can choose any email marketing plugin as per your requirements.
However, here we are going to use weMail email marketing software to create this tutorial. weMail is a growing email marketing plugin that comes with both free and premium plans. Already more than 10K people are actively using weMail on their sites.
Here, in this tutorial, we are going to use the weMail free version to get our job done.
The reasons behind choosing weMail:
- Easy email list management
- Simple email subscription process
- Easy integration of opt-in forms
- Update and clean the list regularly
- Built-in import and export settings
- Advanced campaign performance insights
- Appropriate email list segmentation and clustering
- No need to use other form builder plugins while using weMail to create subscription form
Install weMail on Your WordPress Site
So, let’s get started!
- Login to the admin panel of WordPress.
- Navigate to Plugins > Add New > weMail. Click Install. Once installed, click on Activate to get started.
- Now after successfully activating weMail, navigate to the new weMail icon on your WordPress dashboard.
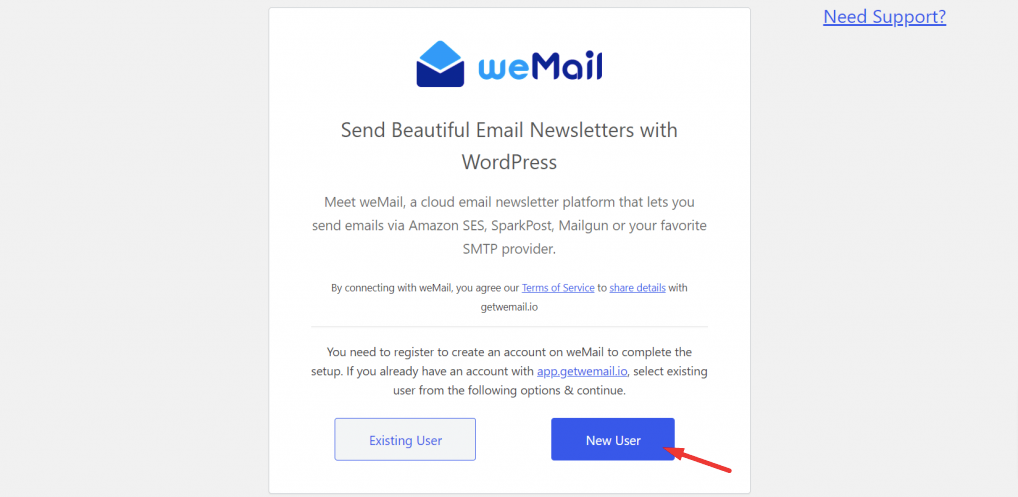
- You will have two choices. Either register as an Existing user or a new user.
Register as a New User
- Now, enter your email address and password that you will use to register on https://app.getwemail.io/
- After that. you will be sent an OTP to your registered email address. Copy and paste it.
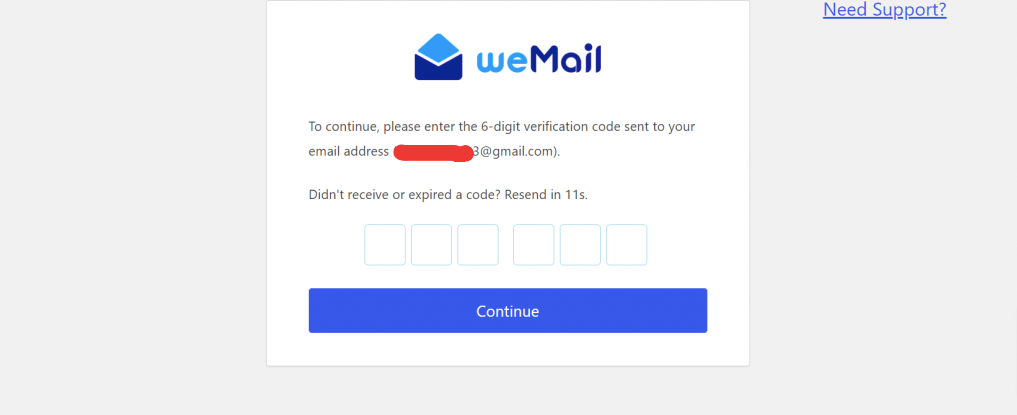
You are done!
Register as an Existing User
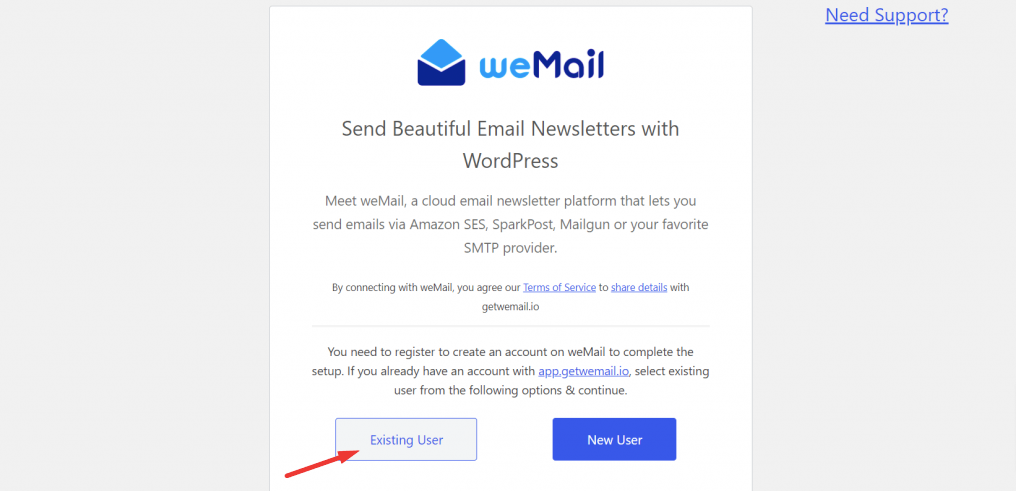
That means you already have an account here. Enter the emails address and password you used for registering on that site.
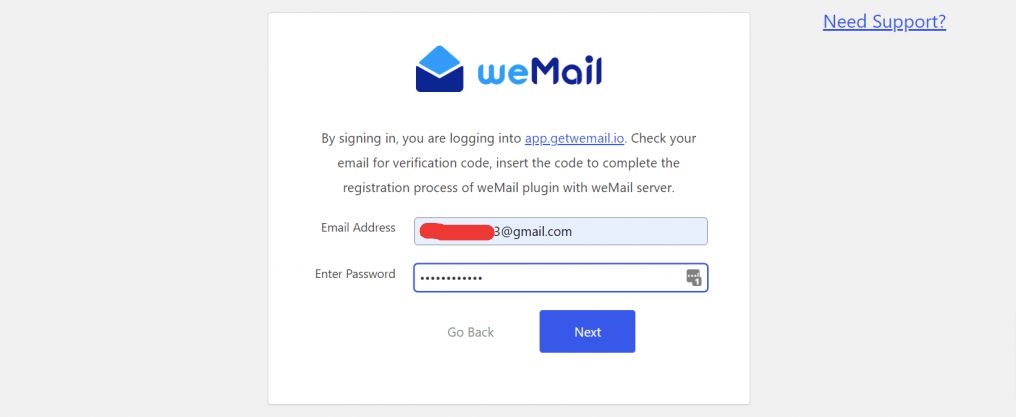
An OTP will be sent to your email address. Enter it and your site will be connected.
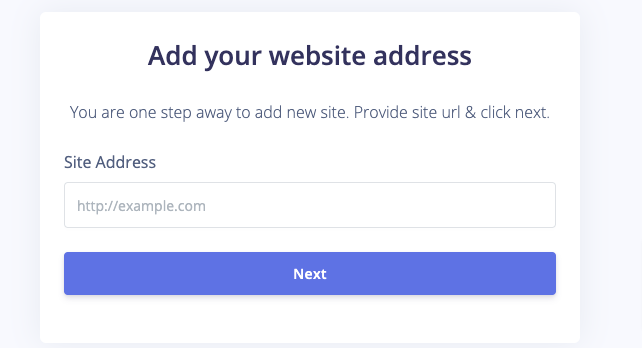
And if you want, you can add a new site from your weMail account as well. Just choose to Add a new site.

- Click “Add a new site” button & add your website url then click “Next”.
- Copy the API Key and paste in the weMail plugin field shown earlier & click “Connect weMail” button
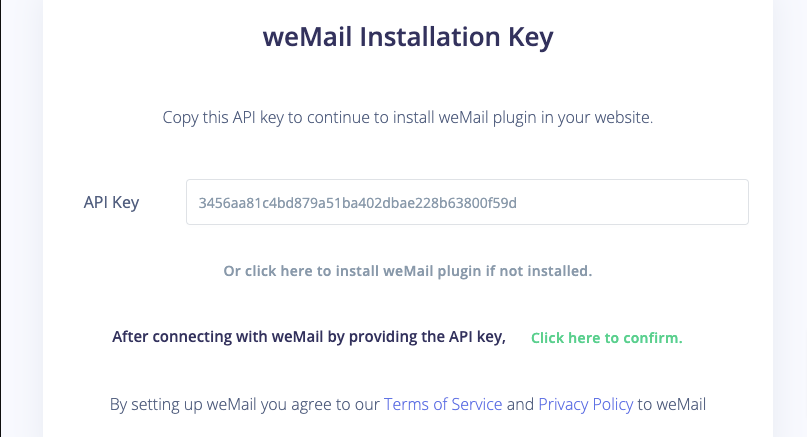
- Click on “Click here to confirm” to confirm & complete the API setup process.
- weMail wizard will guide you to set up API, Lists, Import Users, Company info settings, you skip these steps if you want.
- After connecting to weMail you will be greeted with weMail’s user intuitive dashboard. Just connect to your email sending API, create campaigns, and start delivering emails.
After installing, you will get an overview page like the one below.

Installation is done. Welcome to weMail!
2- Create Your Email Subscription List
Now you need to create a list. It will store will the contacts who are subscribed to your site.
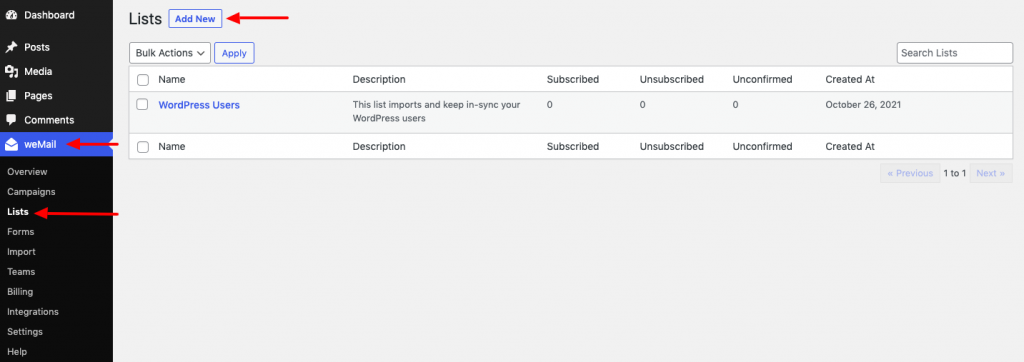
- To create your email subscription list, go to your WordPress dashboard > weMail > Lists.
- Then click on the Add New button.
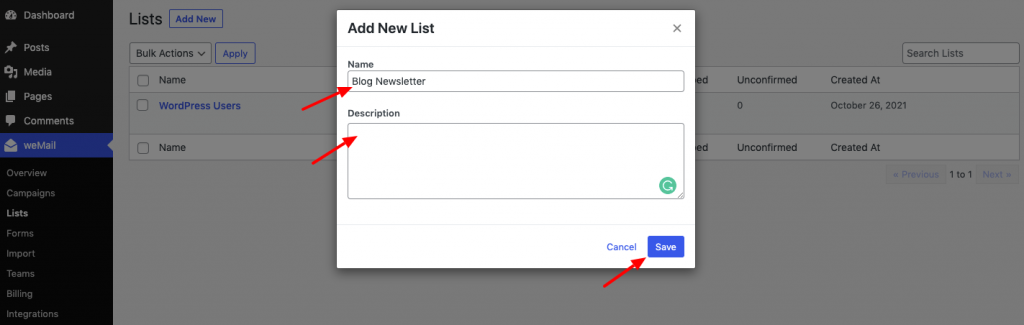
- Enter a name of your list. You can also enter description if you wish to as it’s not mandatory.
- Then don’t forget to press the Save button.
Your list has been created. You can check it from weMail > Lists.
3- Create & Design Your Email Subscription Form
Now it’s time to create a form. This form will visible to your visitors. So, design it as much attractive as you can.
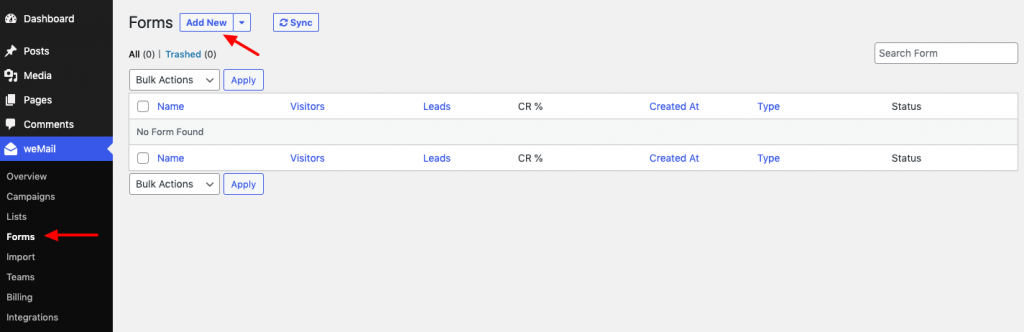
- Navigate to your WordPress dashboard > weMail > Forms.
- Click on the Add New button.
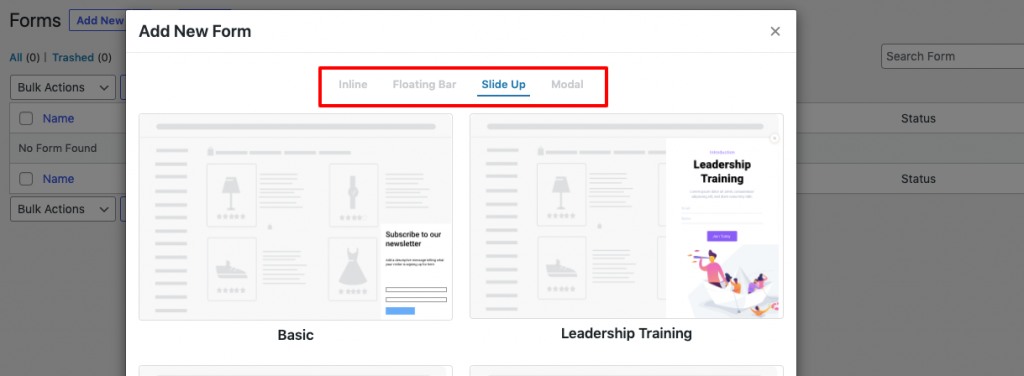
It will show you the different types of forms to choose from.
Basically, the types are;
- Inline
- Floatin Bar
- Slide Up
- Modal
If you’re confused about when to use which, let us explain.
- Inline: If you want to use a regular looking form on your webpage then you should use an Inline Form style. You can put the form between lines or at the last of your content- however you like.
- Floating Bar: It will attach with the bottom or top of users’ screen and it will scroll along with the user making it more highly effective.
- Slide Up: It appears on the left or right side of your web page. The most benefit of using a Slide Up form is that it won’t take up as much space as traditional forms take but it will have the same impact as other forms.
- Modal: The modal form style is a “pop-up” window that appears as contacts browse your website.
- Choose a form type and give it a name.
- Then add this form to a list. Click on the drop down option and here you should find the list name that you’ve created earlier. Select that list and click the Save button.
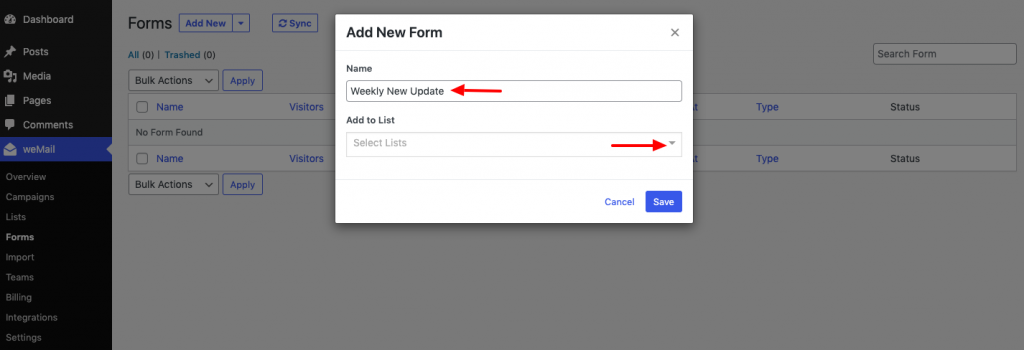
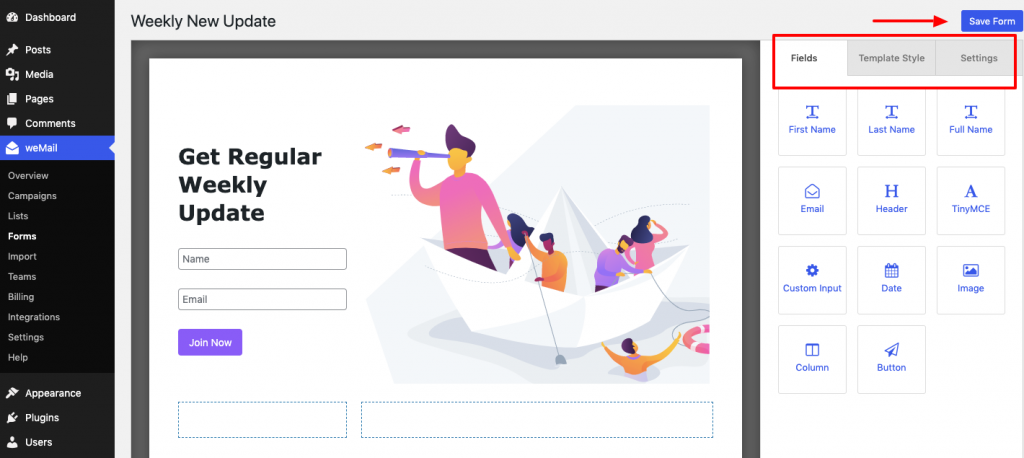
- Now click on the form name to edit it. Here we have given “Weekly Update” name to this form.
- You can edit everything from this settings. Just click on the text, image, or anything that you want to design and it will let you redesign it as per your needs.
- Apart from the styling, if you want to send a greeting message to your subscribers who are just opted in to your list, you can do it from here.
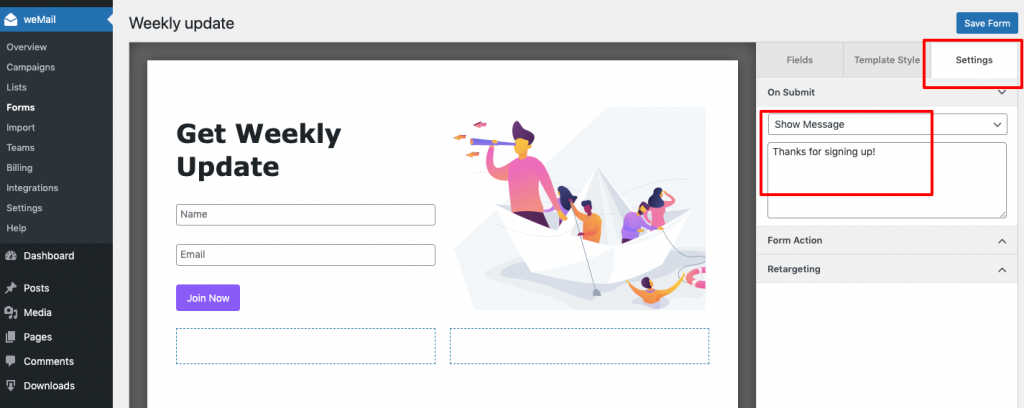
- Click the Save Form button once you’re finished with your designing part.
4- Add Form to Your WordPress Site
You have successfully created a form. Now you need to display it on your website so that your visitors can find it when they are on your site and subscribe to your list.
You can show it to:
- Your site’s header or footer
- Blog posts, either within articles or as a sidebar
- Any of your pages
Add Email Subscription to Your Site’s Header or Footer
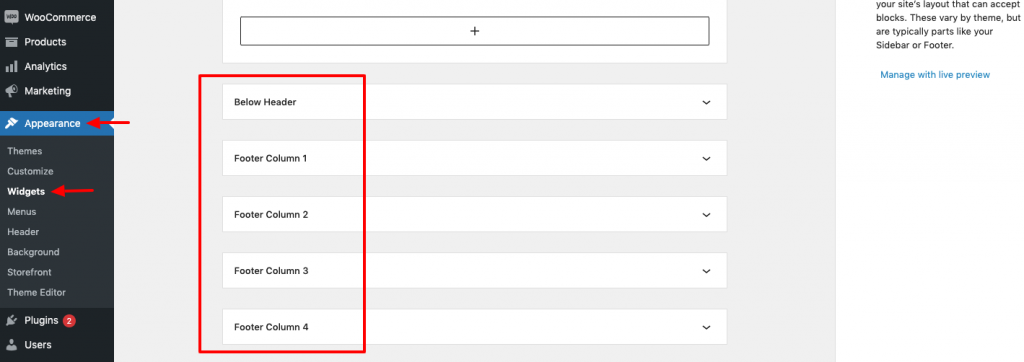
- To add it to your site’s header or footer, navigate to your WordPress dashboard > Appearance > Widgets.
Choose a widget where you want to show the subscription form and then click on it. Here we have chosen the Footer option.
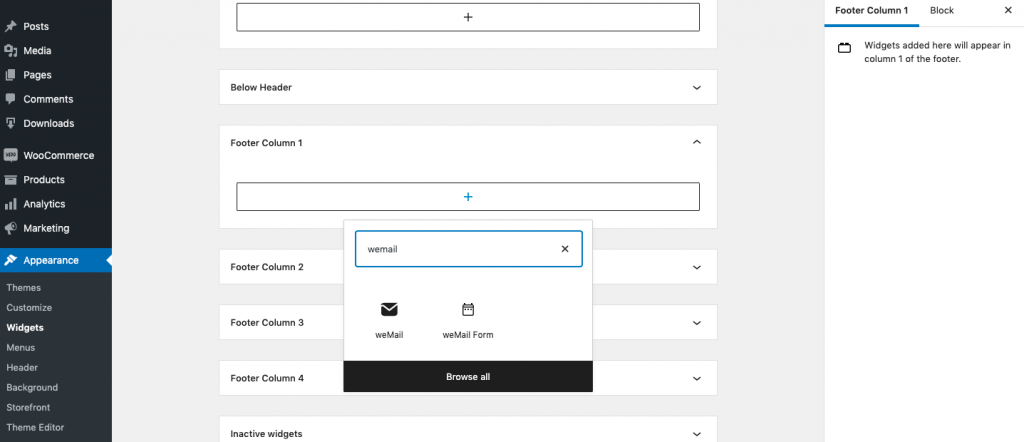
- If you are using WordPress 5.8 or latter version, you’ll see a + sign after clicking the widget that you want to use to show your email subscription.
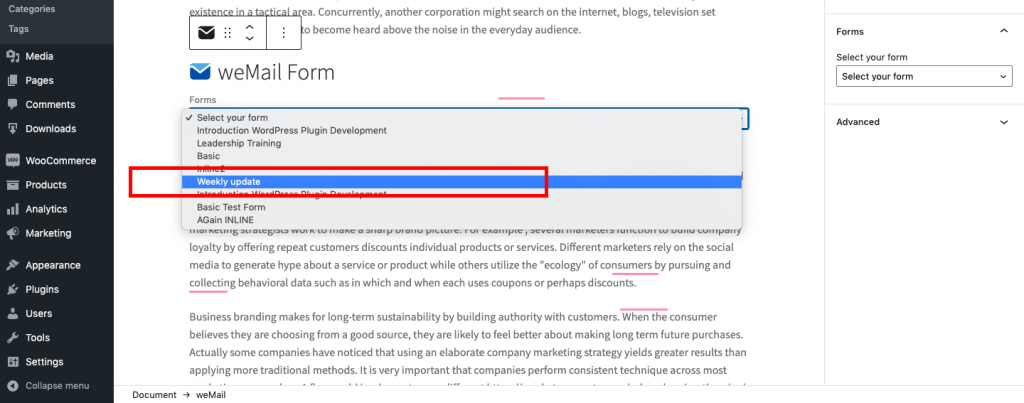
- Click on the + sign. Then type the “weMail Form” on the search box. Then click on the weMail Form block.
- Now give it a name. Then choose the form name that we’ve created earlier. For this tutorial, it’s Weekly Update. Click on the form name.
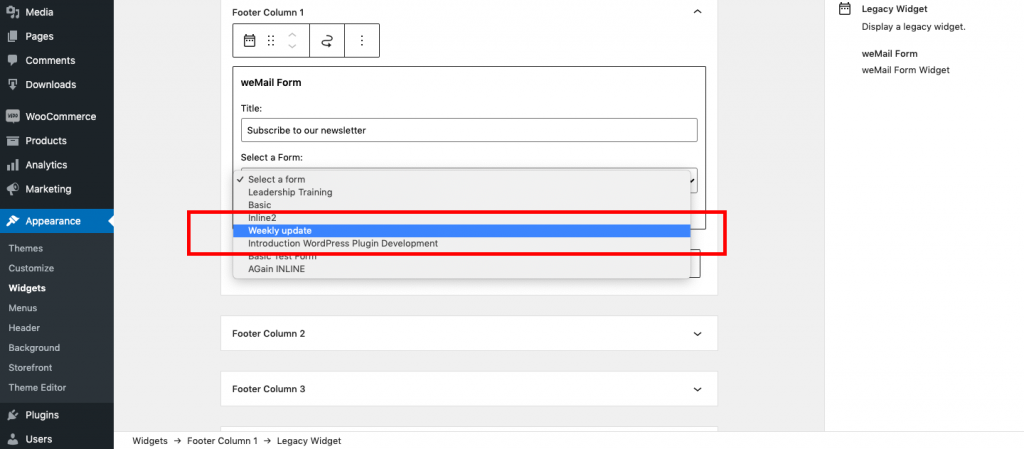
Don’t forget to click the Update button to save all these changes. Now go to your website front end. You’ll see this email subscription form on the footer of your site.

That’s all! You have successfully added an email subscription form to your WordPress site.
Add Email Subscription to Your Blog or Page
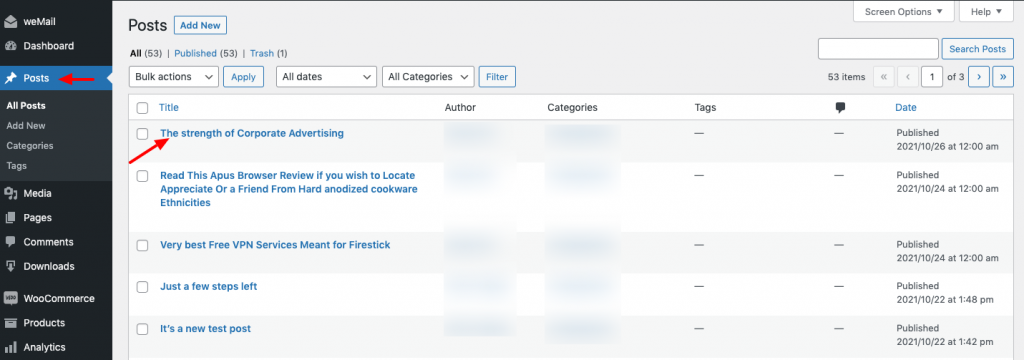
- To add an email subscription to your blog, go to Posts and select a post where you want to add the subscription form. Click on that post.
- Now, find the exact position on that blog to add the subscription form. Click the plus (+) sign to add the weMail block.
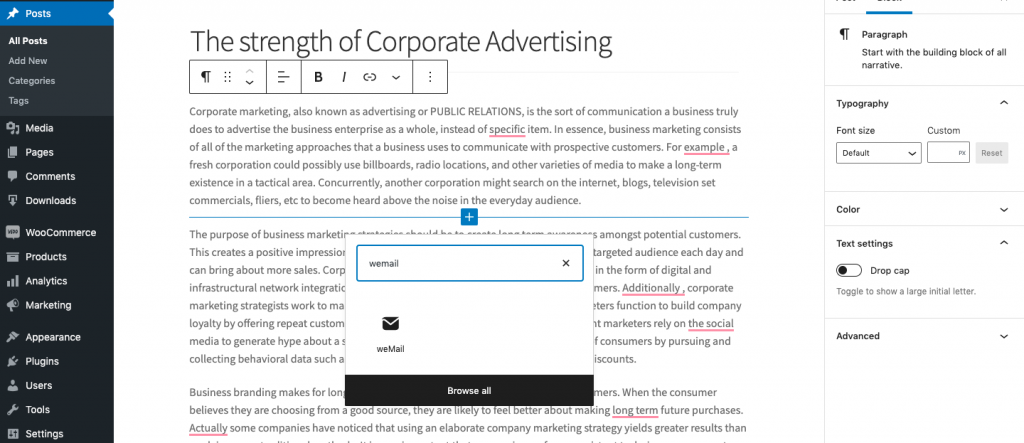
- Then select the form name from the drop down menu.
Then update the blog and go to the front end side to see the result.
Following the same way, you can add an email subscription to any of your site’s pages. Just go to the page option and choose a page name to add the form instead of going to the blog option and choosing a blog name. And the rest of the procedures are the same as we’ve just shown to you.
Bonus: Tips to Grow an Email List in a Professional Way

Now you know the basics of how to create an email subscription form in WordPress, here are some ways you can boost its conversion rates.
- Keep it Simple: While it’s tempting to use your form to get as much information as possible from subscribers, this can hurt your signup numbers. It would be great if you just take their name and email or just email to subscribe them. Remember too many options on email subscription form take more time to fill it up for your visitors and raise more probability that they will avoid your form.
- Get Your Pitch Right: For someone to hand over their email address, they need to know what’s in it for them. It’s important for them to know if they are the firsts to hear your latest updates or getting access to exclusive content.
- Offer Something in Return: People opt-in to your form to hear from you, that’s correct. However, adding an incentive can help sweeten the deal. Depending on your business, you could give subscribers a piece of downloadable eBook, evergreen content, tips and tricks, your latest version of plugin or theme for testing purpose, or any special disconuts to your premium products.
- Nurture Your Leads Regularly: Once you have prepared a list, send them regular update. Doesn’t matter if it’s a list of 100 leads or 100K leads. Remember consistency is the key to success in email marketing. If you send one newsletter per week then send it maintaining the same time every week. That’s how you should nurture your leads, otherwise, people will opt-out from you list.
Growing and maintaining an email list is a time-consuming task. It needs lots of dedication, hard work, and persistence to succeed in this field. So, don’t be frustrated if you’re not getting success overnight.
Over to You
When you have a WordPress site and you’re getting people on your site, you need to give them the opportunity to opt-in to your email list. This will not only help you deliver your content to them but also you’ll be able to promote your products (if you have any) to them directly through the email newsletter.
Almost every WordPress site owner has been leveraging this strategy over the years. So what are you waiting for? Add an email subscription for your WordPress site following this tutorial and make a subscribers list for getting back to them on your site again and again.
And don’t forget to let us know if you face any complications while adding an email subscription to your site through the comment box below. We’d love to assist you at our earliest possible. Good luck!
Follow us on Twitter and Facebook to get regular updates from WP Hive.
Disclosure: WP Hive earns a commission when you buy through partner links. It does not influence the unbiased opinions of our writers. Learn more →
Share:
https://wphive.com/tutorials/how-to-add-email-subscription-to-wordpress/
Shams Sumon
Shams is a content writer with a passion for making WordPress topics easy to understand for everyone through conversational and storytelling approaches. With a background in the WordPress industry since 2019, he has developed a knack for breaking down complex technical concepts into digestible bites. When he's not crafting engaging content, Shams can be found watching football matches, catching up on the latest movies, or exploring new destinations to rejuvenate himself.

