
When you own a WordPress site, you need to have a clear idea about your users. Like their origin, what they are craving for, and many more.
As you know, adding Google Analytics to WordPress can help you to get this data. And, all these data will influence you to design and implement products according to your visitors’ demand. Thus you can get satisfied users.
You might be wondering how to add Google Analytics to WordPress. No worries! We’re here to help you out.
Today, in this blog post, we are going to show you the ways to add analytics to your WordPress site. Keep reading!
Why You Need to Add Google Analytics to WordPress

Before diving into the tutorial on how to add Google Analytics to WordPress, you need to know why you should add this to your site. Let us show you some of the key points that Google Analytics does for you.
Who Visits Your Site: Geographical and technical information about where your audience is from and the devices they use to access your site.
What Your Visitors Do: Find out which pages they look at, your bounce rate, how long they stay on your site, and more.
When They Are Coming: Google Analytics also shows you when exactly people come to your site by the hour, day, week, or month.
How They Find Your Site: You also get information about whether your audience finds your site in search engines (and which of them), social media, links on other websites, or if they enter your site address directly.
How They Interact with Your Content: From Google Analytics you are also able to understand how people interact with your WordPress site, for example, the links they click on.
By collecting these data, you will be immensely benefited while making a product launch checklist or planning for site content. Make sure you are improving your content and content strategy to give visitors more of what they are interested in.
How to Add Google Analytics to WordPress

You can add Google Analytics to WordPress with or without using WordPress plugin. We will show you both the ways. Before diving into that, you need a Google Analytics account to proceed to the next step.
Create Google Analytics Account
Before you can connect the software to your site, you first have to sign up. We will do that first by heading on over to the Google Analytics homepage.
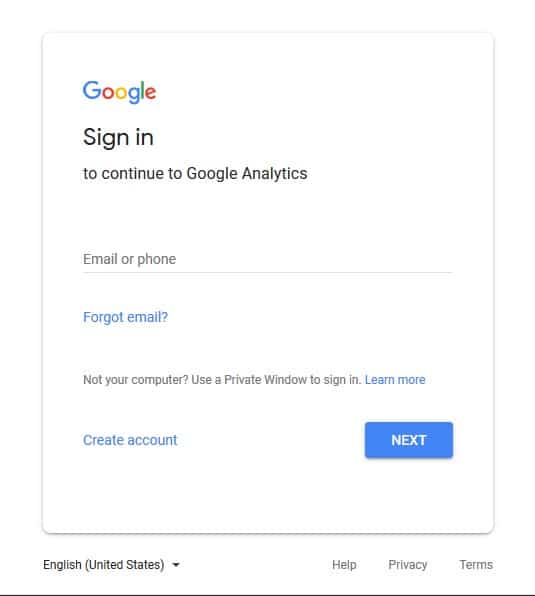
- If you already have a Google account, simply use it to log in. If not, click the button to sign up and create a whole new account.
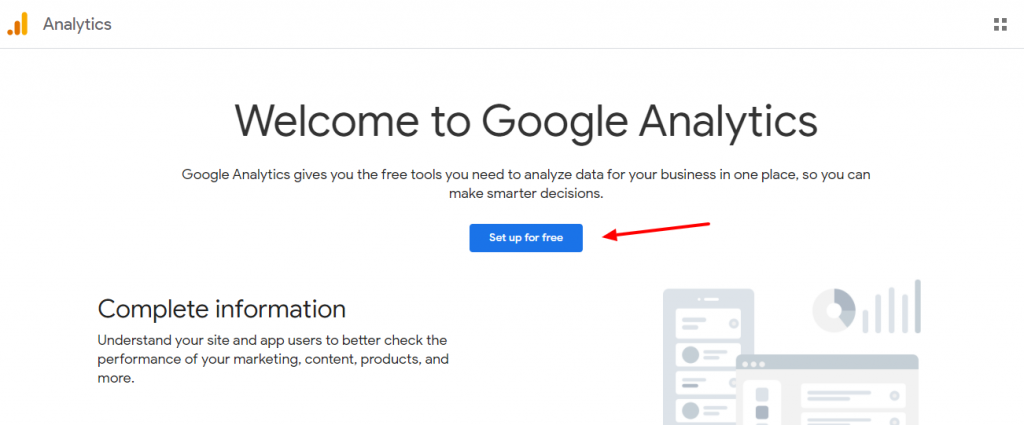
- You will be presented with an interface like below. Click Sign up for free to go to the next step.
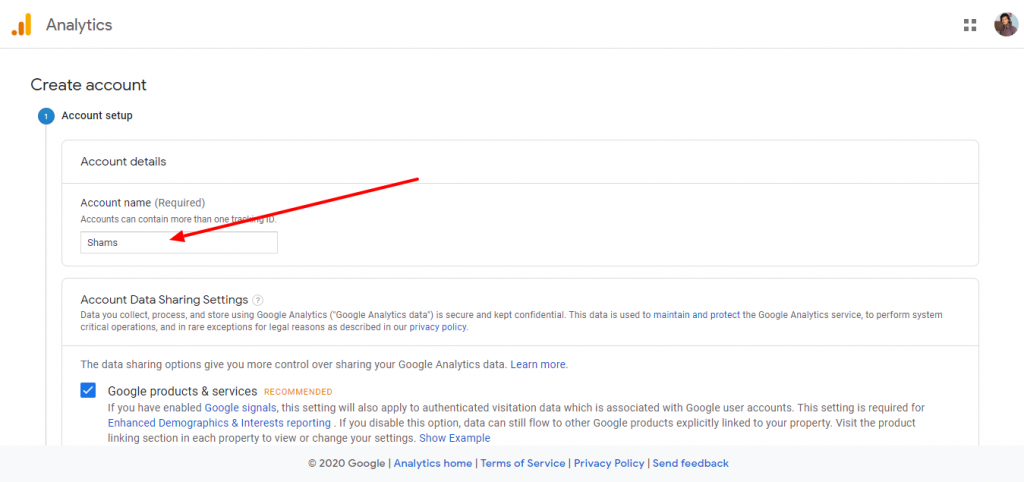
- After that, you will be asked to provide an account name. This name will be used internally so you can use anything like your business name.
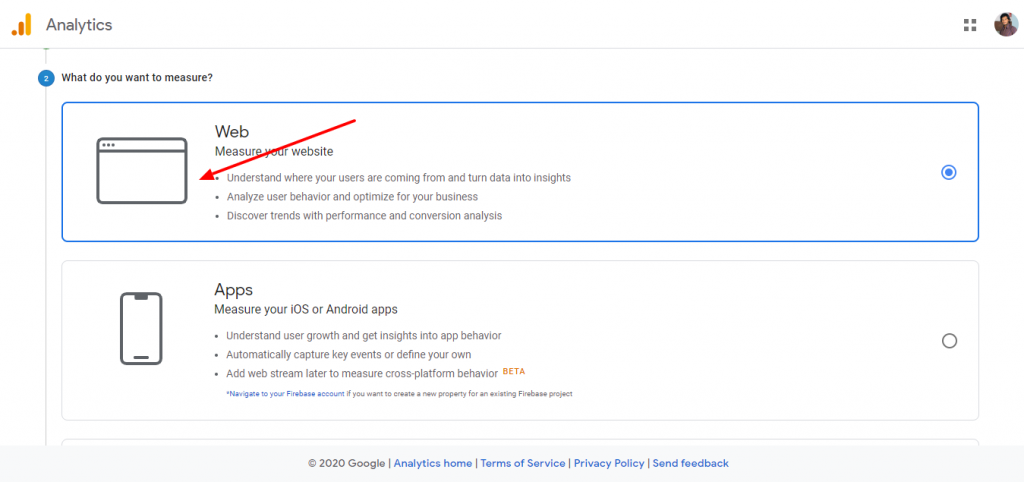
- On the next screen, you will be given choice to choose between a web, apps, or apps and web. Make sure you select ‘Web’.
- After that, you need to enter website name, website’s URL, country, and time zone.
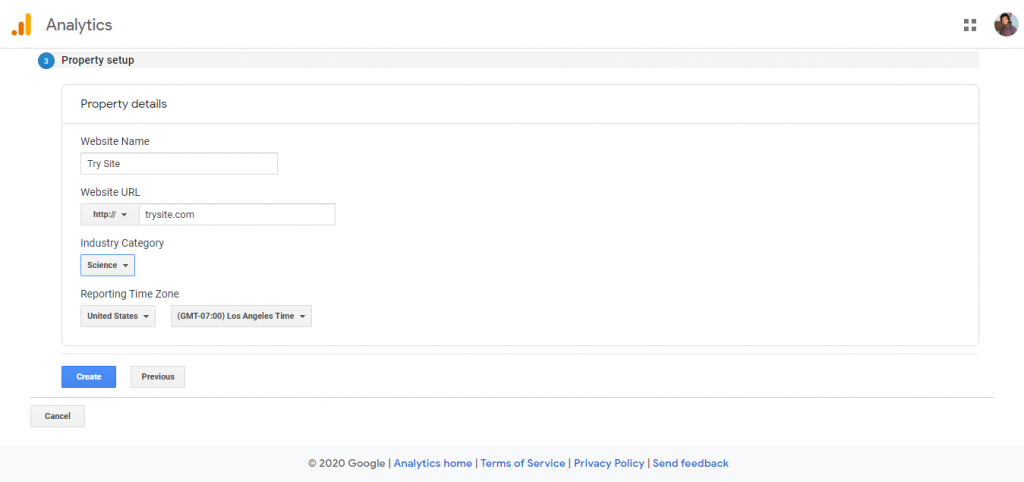
Once you have entered all this information, click on the Next button. You will be presented with Google Analytics terms and services which you must agree to, so click on the ‘I Agree’ button.
- Now you will get your Google Analytics tracking code. You can copy this tracking code because you will need to enter it in your WordPress site depending on the method you use below.
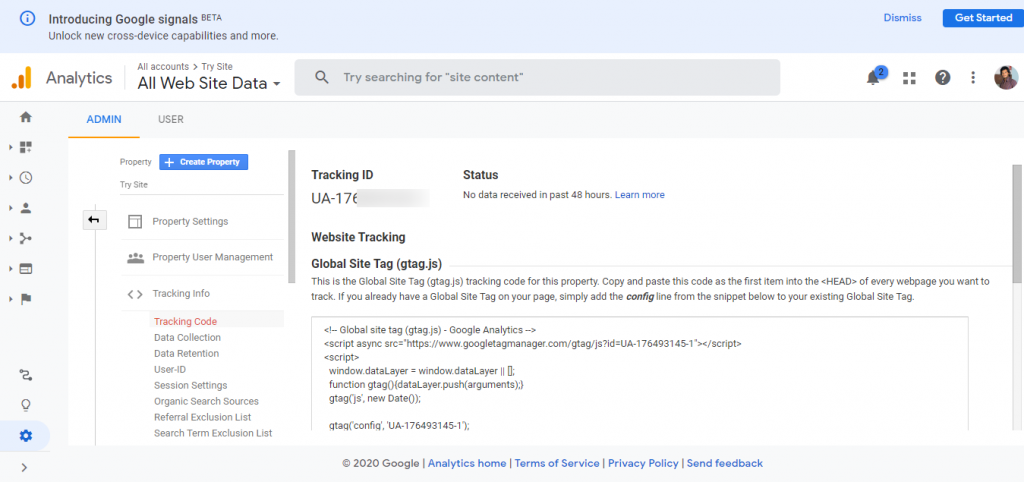
You can also simply leave this browser tab open and switch back to copy the code when needed. In case you close it and need to get there later, you can always find your tracking code under Admin > Tracking Info > Tracking Code.
How to Add Google Analytics to WordPress with a Plugin
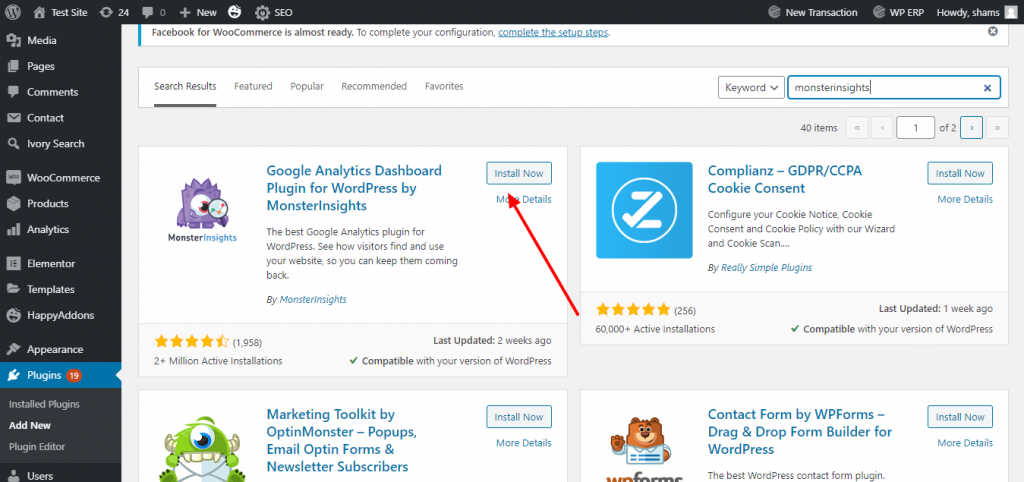
We are using here Google Analytics Dashboard Plugin for WordPress by MonsterInsights to make this tutorial. With more than 2M+ active installations, it is one of the top-rated plugins so far for WordPress.
>> LET ME KNOW MORE ABOUT MONSTERINSIGHTS <<
- To install this plugin, simply go to Plugins > Add New from your WordPress dashboard. Search for it by name.
- When you find it on the list, hit Install Now to start downloading it to your site. Activate when it’s done.
After activating the plugin, click on the “Launch the Wizard” button. Clicking on it will bring the MonsterInsights setup wizard.
- First, you will be asked to choose a category for your website (a business website, blog, or online store). Select one and then click on the ‘Save and Continue’ button.

- Next, you need to click on the ‘Connect MonsterInsights’ button.

- This will bring up a popup that will take you to Google accounts where you will be asked to sign in or select a Google account if you are already signed in.
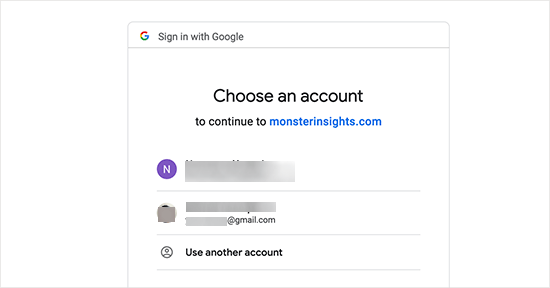
- Next, you will be asked to allow MonsterInsights to access your Google Analytics account.
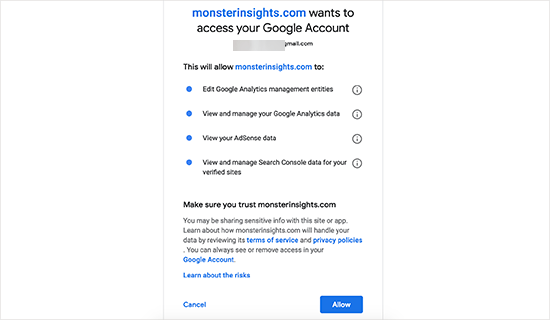
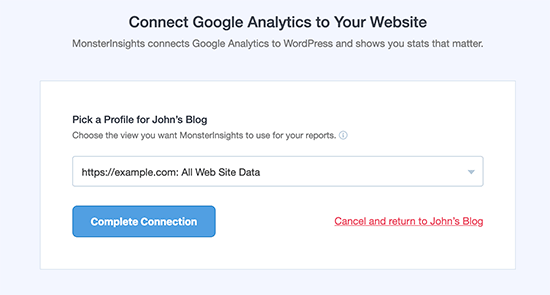
- Click on the ‘Allow’ button to continue. The final step is to select the profile you want to track. You need to select your website here and then click on the ‘Complete Connection’ button to continue.
- MonsterInsights will now install Google Analytics on your website. After that, you will be asked to select the recommended settings for your website.
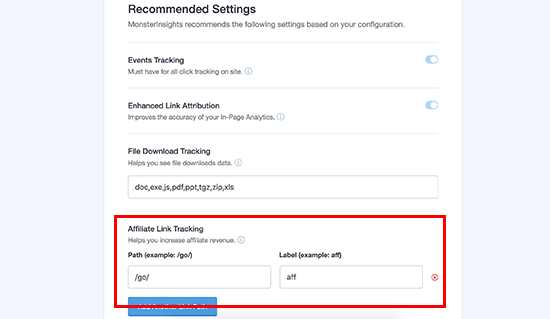
The default settings would work for most websites. If you use an affiliate link plugin, then you need to add the path you use to cloak affiliate links. This will allow you to track your affiliate links in Google Analytics.
- Click on the Save and Continue button to save your settings.
- Next, MonsterInsights will show you paid add-ons that you can access if you upgrade to PRO. You can simply click on the ‘Save and Continue’ button to skip this step.
- After that, you will be asked to install the WPForms plugin. You can install it or simply click on ‘Skip this Step’.
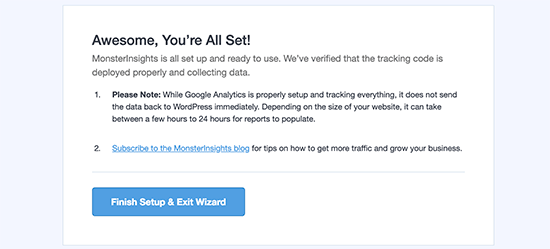
That’s all you have successfully installed and setup Google Analytics on your WordPress site. Remember, it will take Google Analytics sometime before showing your stats.
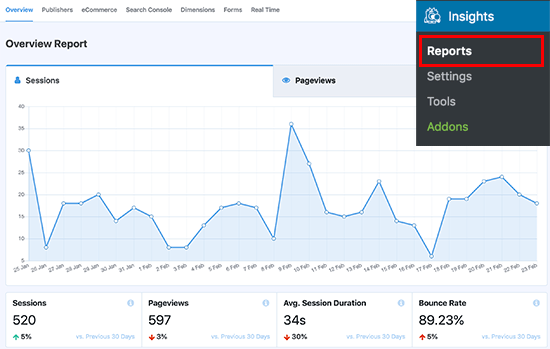
The best part about MonsterInsights is that you can view your Google Analytics reports inside your WordPress dashboard. Simply visit Insights » Reports page to check out a quick overview of your analytics data.
MonsterInsights Alternative

If you don’t feel comfortable with MonsterInsights plugin, you can use its alternative. Then we would recommend you to use Google Site Kit.
Site Kit is a plugin that enables you to connect your WordPress website with these six Google services:
Search Console: With Search Console, you can monitor your site’s traffic, its performance, and indexing status.
Analytics: Google’s popular web analytics tool provides you with massive amounts of data about your site’s visitors, which is invaluable for marketing and optimization.
AdSense: If you want to monetize your website using ads, AdSense is one of the most popular platforms you can use to insert ads.
PageSpeed Insights: This tool enables you to test your website’s performance. It returns an overall score, as well as a broad range of suggestions on how to improve your desktop and mobile experiences.
Tag Manager: This service enables you to add tracking pixels and snippets to your website without modifying code manually.
Optimize: With Optimize, you can run in-depth A/B tests for your website. It integrates with Google Analytics to give you better insights into results.
>> LET ME DOWNLOAD GOOGLE SITE KIT <<
How to Add Google Analytics to WordPress without Plugin (Manually)
There are a couple of ways to add Google Analytics to WordPress using the code snippet.
- Using functions.php
- Using header.php
Method 01: Using functions.php
The first location where you can add the Google Analytics tracking code is the functions.php file. You create a new function that contains the code snippet.
NOTE: For precautionary reasons, it’s best to create a backup copy of the file before you modify it.
- On your WordPress dashboard, navigate to the Theme Editor section under the Appearance menu.
- Open the Theme Functions(functions.php) file from the right column.
- Add the following code snippet to the file. Don’t forget to replace the Tracking ID with your own.
add_action('wp_head','my_analytics', 20);
function my_analytics() {
?>
<!-- Global site tag (gtag.js) - Google Analytics -->
<script async src="https://www.googletagmanager.com/gtag/js?id=UA-26575989-48"></script>
<script>
  window.dataLayer = window.dataLayer || [];
  function gtag(){dataLayer.push(arguments);}
  gtag('js', new Date());
  gtag('config', 'UA-26575989-48');
</script>
<?php
}- Once you’re done, click on the Update File button to save the changes.
Method 02: Using header.php
You can also add the Google Analytics tracking code to the Theme Header (header.php) file.
- Navigate to the Theme Editor once again.
- Open the Theme Header (header.php) file on the right column.

- Paste the code snippet in the header area or, more specifically, above the </head> tag.
- Once you’re done, click on the Update File button to save the changes.
Congratulations! You have completed the process to add Google Analytics to WordPress manually.
Bonus: Learn the Basics of Google Analytics
If you’re a beginner at Google Analytics, you should learn some basics of it. Otherwise, you’ll feel uncomfortable while using this dashboard.
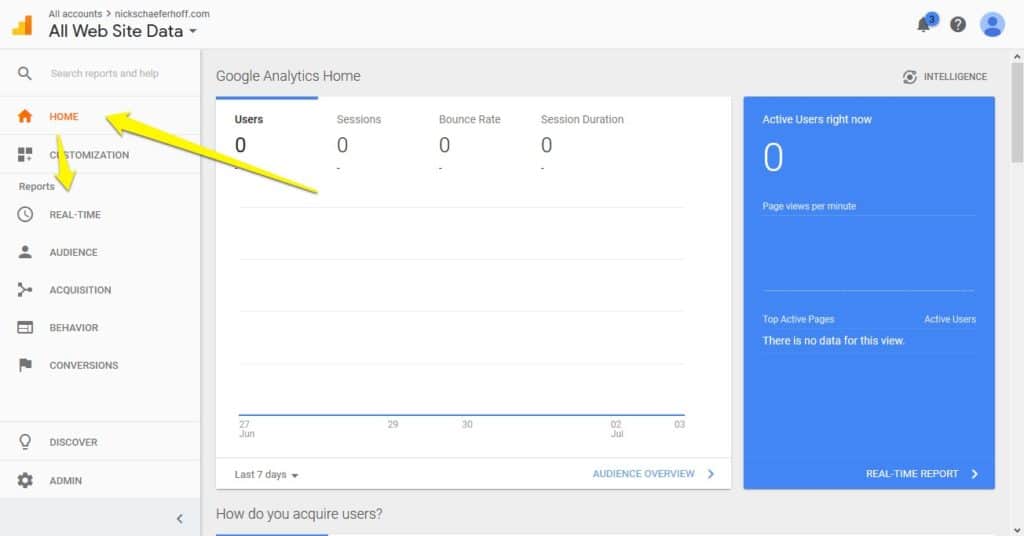
On the right, you will always see the statistics for your website, while on the left you can choose which data to look at. The part of the program where you will spend your most time is the Reports tab. You will find a number of different sections that, if clicked on, contain other submenus and contain the following information:
- Real-time — Shows you what is going on on your site at the moment of the observation. How many visitors are currently on it, where they are from, what they are looking at, and more.
- Audience — Contains information that helps you learn more about your users e.g the number of visitors in a period of time, how long they stayed on average, and the demographical as well as the technical information about them.
- Acquisition — Shows you which sources send users to your site and information about your marketing channels.
- Behavior — Everything about what your users do after they come to your site, the content they look at, and more.
- Conversion — If you have set up goals inside Google Analytics, here’s where you understand how well you are doing in achieving them.
Over to You
Customer satisfaction is crucial when you run a website. And if you know about their preferences then it becomes easy to satisfy them. Google Analytics does that job for you. It lets you get all the data regarding your customers.
You just make plans and execute them according to your customers’ demands. Eventually, you will head to a successful startup.
However, if you still find complications to use or add Google Analytics to your WordPress site, let us know.


Add your first comment to this post